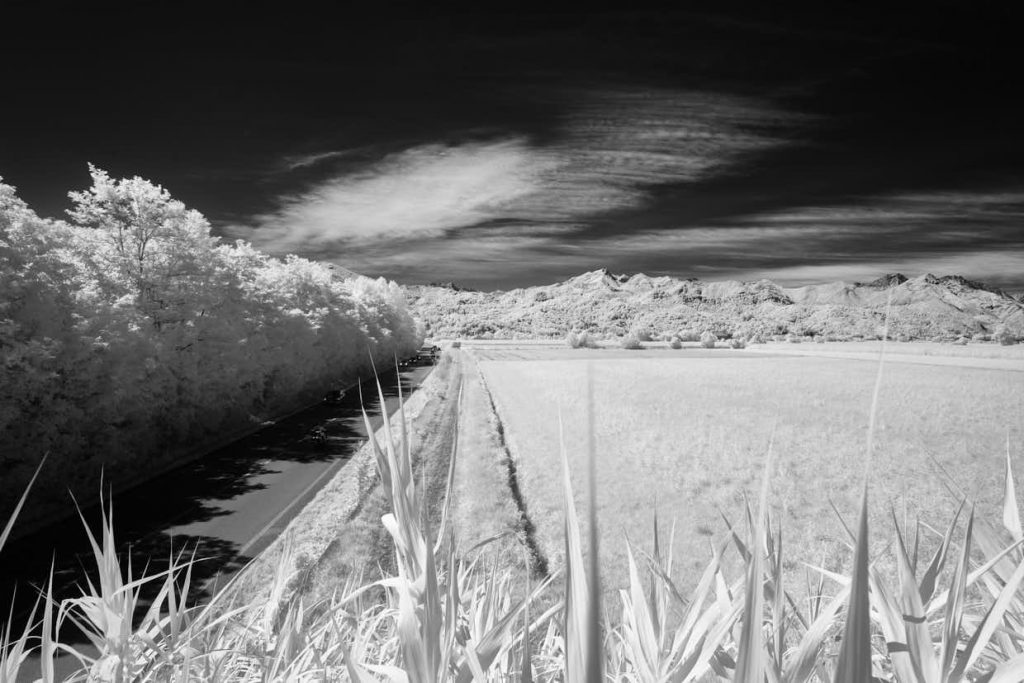
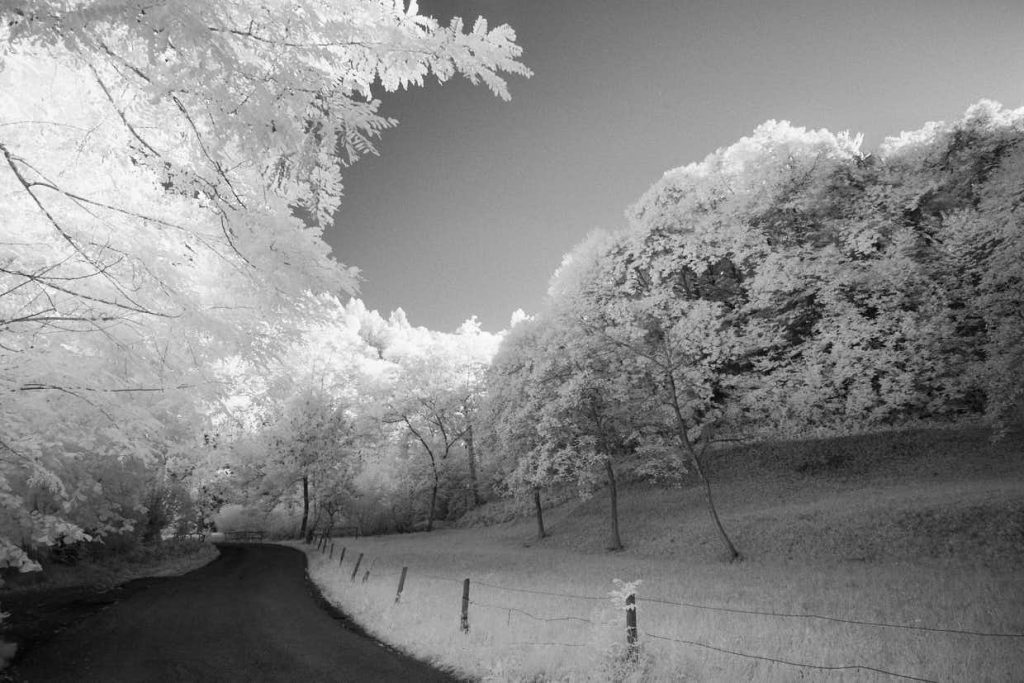
I always enjoyed infrared photography, starting with the Kodak Infrared film I always had great satisfaction exploring the infrared part of the spectrum.
When I switched to digital photography I forgot infrared for a while until I got my Canon 5D converted to infrared by LifePixel. The conversion was great, the support was perfect but when the camera was sent back to Italy the italian customs asked me to pay the taxes not only on the modification but also on the value of the camera. At the end of the game I had to spend around 700 Euros for a conversion that costs usually $300.
I decided to convert a Fujifilm X Pro 1 to infrared and this time I decided to try to do it myself buying the filter directly in Italy from Adriano Lolli Costruzioni Ottiche Meccaniche and avoiding all the import costs.
The choice of the X Pro 1 was very simple. I had bought a new X Pro 1 with the 18mm when the new model came around, I did it because was really a great deal (450 Euros included an extra battery, a memory card and the leather bag, since than the price went up a lot and I see now X Pro 1 new body only around 700 Euros on the net). I bought the camera as a “toy” to keep with me always, just to have a light camera comfortable in my pockets. It turned out I really love the camera. The quality of the images is absolutely great, the optics are very sharp and as I was used in the past with the Hasselblad SWC or the Linhof Technica I have again an optical viewfinder and I love it. The optical viewfinder (with the option to check with the EVF) brought me back to a more rational way to look at the subject, I have to think the image and not just watch it on a display and this fits perfectly my style.
As filter I went for a standard 720nm filter. I use it only for black and white and there is still some color that can be used in post processing to enhance some areas and make masks.
So I had some free time and decided to buy a used X Pro 1 and convert it to Infrared. The advantage of an infrared mirrorless over a DSLR is that the focusing and the exposure are measured directly by the sensor, so the focus shift does not affect the autofocus and the exposure is calculated correctly also in auto modes. If you were used to infrared film, guessing the focus on the lens red dot and the exposure based on the feeling of the sun on your skin, you can understand that the option of everything automatic seems like a paradise!
To have an idea of what the project involved I followed the DIY instruction on Life Pixel website. The instruction are pretty detailed and miss just few details. My initial idea was to buy a camera with the viewfinder glass broken, but when I saw it got sold on ebay for few bucks less than a working one in perfect conditions I went with the working one. Since I imagined to have to repair the viewfinder glass and I had no idea if the task was easy or complex, I bought online for $12 the X Pro 1 service and repair manual. It was worth the money!
In the DIY instructions on Life Pixel there are few things missing.
The first is that there are some elements between the sensor and the sensor support, they have different thickness and quantities and must be removed and reinserted in the same exact position because are used to align the sensor perfectly to the focal plane.
The second problem is that when you arrive at the step when you are supposed to unscrew the sensor there is a screw not accessible and covered by the viewfinder support so the viewfinder must be removed.
Third It’s easier to remove the speaker from his place than to desolder the cables.
Fourth and most important, I did not desoldered the anti dust glass but simply flipped it to the right with the sensor and I was able to put it together again.
Fifth, if you have a 1mm IR filter you can detach the old seal from the original filter, very carefully (!!!) and reattach it on your IR filter. In this way you can have the anti dust system working perfectly.
The steps to do this were almost all easy except for the desoldering and soldering.
I had to disassemble the camera first to take the measures of the original anti IR filter because the supplier did not have them. So after I disassembled the camera I had to place all the elements in clean plastic bags (the one used to freeze food are perfect) and wait a week before I had the new filter.
I was afraid to forget the correct place for the screw so I used a method learned from Wheeler Dealers where the mechanic, Ed China, used it for engine parts. It is very simple, just take a piece of paper and draw a simple scheme of the parts you are disassembly, for example the back of the camera, draw a spot correspondent to the position of the screws, do a little hole in it with a cutter and when you take off a screw insert it in the paper. In this way you will remember exactly where every single screw needs to be and you will not loose them. All the papers with the screw inserted can be put in order in a box, when you mount back the camera just take the papers in order and it’s done! And you will be able to do the reverse process also after months.
To be sure to have no dust stuck between the sensor and the IR filter I cleaned all my desk perfectly and waited rainy days, very humid both for disassembling and assembling so there was less dust flying around.
I was very surprised when I tested the camera and I found no dust at all on the sensor, or better I found some dust but was on the outside part and went away with a simple cleaning.
And… when you reassemble the camera check twice to have reattached all the connectors or you will have do do as I did… disassemble agin few parts and insert the connection you forgot! 😀
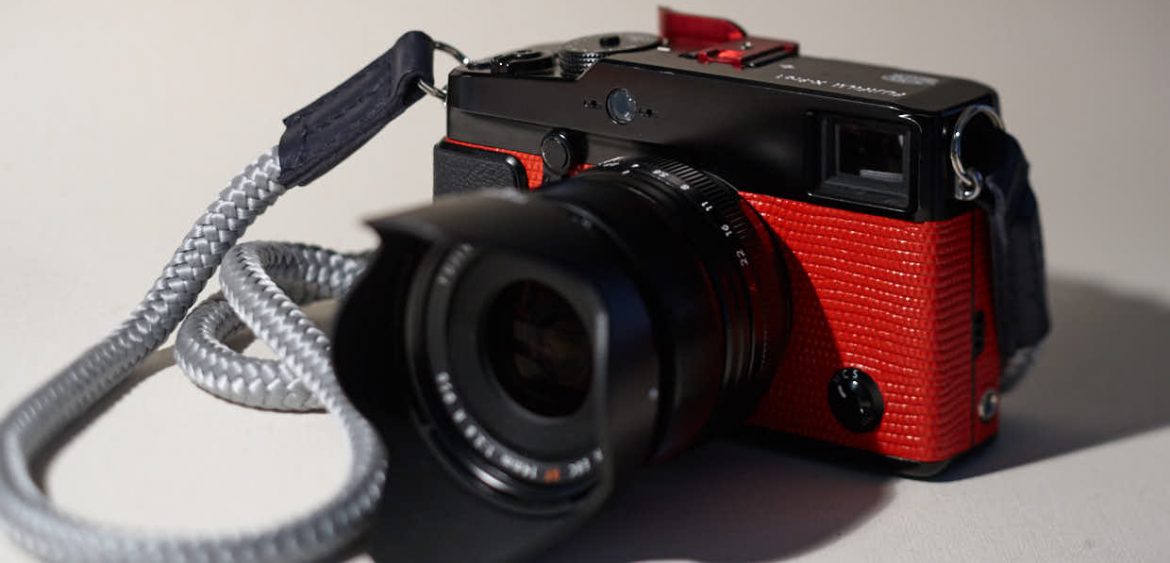
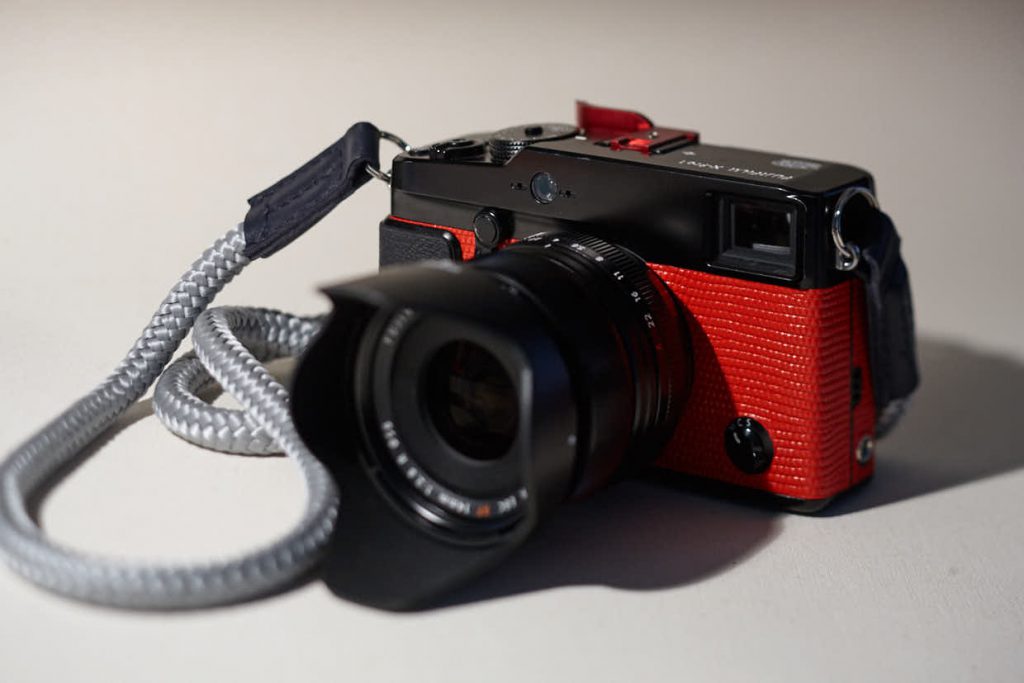
Since I decided also to change the skin of the Fuji with some more fun red leather I was not very careful to preserve the original leather. I used the skin bought from Aki-Asahi Camera Covers, very easy to use following the instructions on their website and the final result seems to be appreciated by a lot of people. I sure like it!
To complete I found on Amazon a red thumb support and I bought from PrintArteMagazine the Sailor Strap.
I do all the postproduction with CaptureOne 9 and there are no problems for the white balance as with other software. You can see here a tutorial on how to use CaptureOne for infrared photography, and you can download a trial version form the PhaseOne website and if you like it you can use the coupon code AMBBARBANO to get a 10% discount on it.
I tested on the IR camera the 18mm and really is not usable for the center hotspot, the 14mm and it is absolutely perfect, the Samyang 12mm f 2.0 and is not usable at all. I played also with an old Pentax 50mm 1.4 that is working well and the Hasselblad 80mm that is perfect.
The total cost for the operation, included the camera, was around 350 Euros. The satisfaction to not have to pay to the customs some money I did not owe to them because the camera was already mine and not imported… it has no price!
Below you can see a 5 minutes video of my Fuji X Pro 1 conversion.


Vic Chapman
August 22, 2016
Thank you for a very useful article. You have steadier hands than I to do it yourself. I couldn’t bear to sacrifice my X-Pro1 which I still use more than my X-T1 so I bought an unused X-E1 from someone who only wanted the cheap lenses from a camera/lens bundle offer. I paid only £140 for a new but discontinued X-E1 which I then sent (via eBay) to Isaac Szabo in USA who converted it and including return postage I paid just £160. It was necessary for me to include various copies of dated documentation as directed by Isaac to avoid import/export/VAT duties but all went smoothly with less than 3 weeks turnaround. I had mine converted to 580nm since I already had 720nm filters and 850 B&W IR filters which can now be added to the lens with no effect on exposure (720nm) and only 1 – 1.5 stops loss with the 850nm so easily hand hold-able still. Although the results from 580nm (super-colour) are eye-grabbing they are also quite strong. I actually find myself mostly shooting 720nm IR because it gives more delicate colours and converts more readily to B&W which saves me swapping filters. (On this point – have you tried processing one for colour and a copy for B&W and layering the two then varying the opacity to taste – some good effects to be had). Like yourself I’ve found the 14mm to be ideal and I rarely use anything else unless to narrow the FoV to avoid people in frame. However, it is worth noting that the Fuji 23, 35 (f1.4 vers) and 55-200 also work well. The 16mm has a slight fixable hotspot. The other Fuji primes and zooms all have troublesome hotspots but I’ve not tried the 35mm f2, 50-140 or 16-55 f2.8 yet.
Old film lenses – most Minolta/Minolta Rokkor and even better Olympus Zuiko lenses are good for IR. I especially like the Minolta 50mm f2 and 24mm f2.8 models but my favourite legacy lenses are Oly Zuiko 28mm f3.5 and 50mm f1.4 (anything but wide open although sometimes that bit of f1.4 flare adds an extra air of ethereal-ism to the result. Surprisingly, old film lenses appear to be more generally use-able for IR at smaller apertures than Fuji lenses – apart from the wonderful Fuji 14mm which is use-able all the way but with such a wide angle lens I’m happy to set f5.6 – f8 and fix the focus distance to 5ft which gives me sharpness from my feet to infinity
Luigi Barbano
August 22, 2016
Thank you Vic.
Thanks for your lens suggestions, I’m actually waiting (I hope will arrive tomorrow) for the 35 1.4
Yes the 14mm is ideal, I love that lens also not for infrared. I was very surprised by the general quality of Fuji.
David
January 09, 2017
Hi,
What are the dimensions for the filter that you measured to be cut to size for the x-pro1?
Many thanks.
Luigi Barbano
January 09, 2017
The dimensions are 2,38cm by 3,13cm and the thickness is 1mm. If you think to do it, when you arrive at the hot mirror, you will find a seal between the filter and the cleaning system glass, if you detach the seal carefully, starting with a cutter under it in a corner, you will be able to reattach it to the new filter and keep the dust removal system working. The dust removal system does not need to be desoldered as suggested in some videos, you can just flip it on a side an so will be possible to reassemble it.
If you need other suggestions just ask, so you will avoid some of my mistakes and save time in research.