It passed quite a while since I built my UV Box but sometime life gets in the middle of our fun projects! Now finally I tested the UV Box and I can say it works great.
.
.
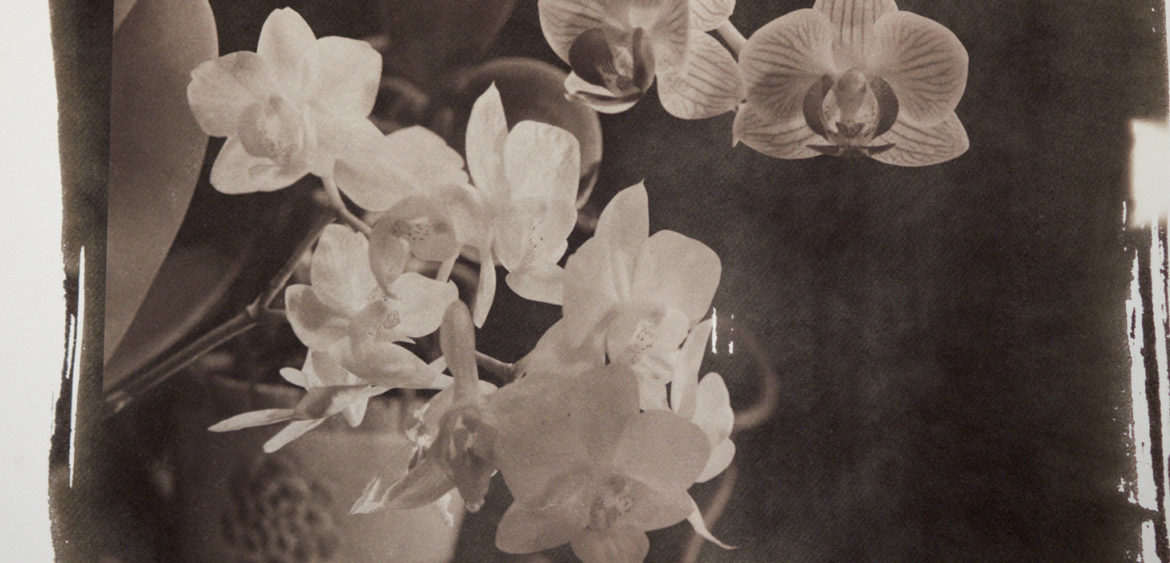
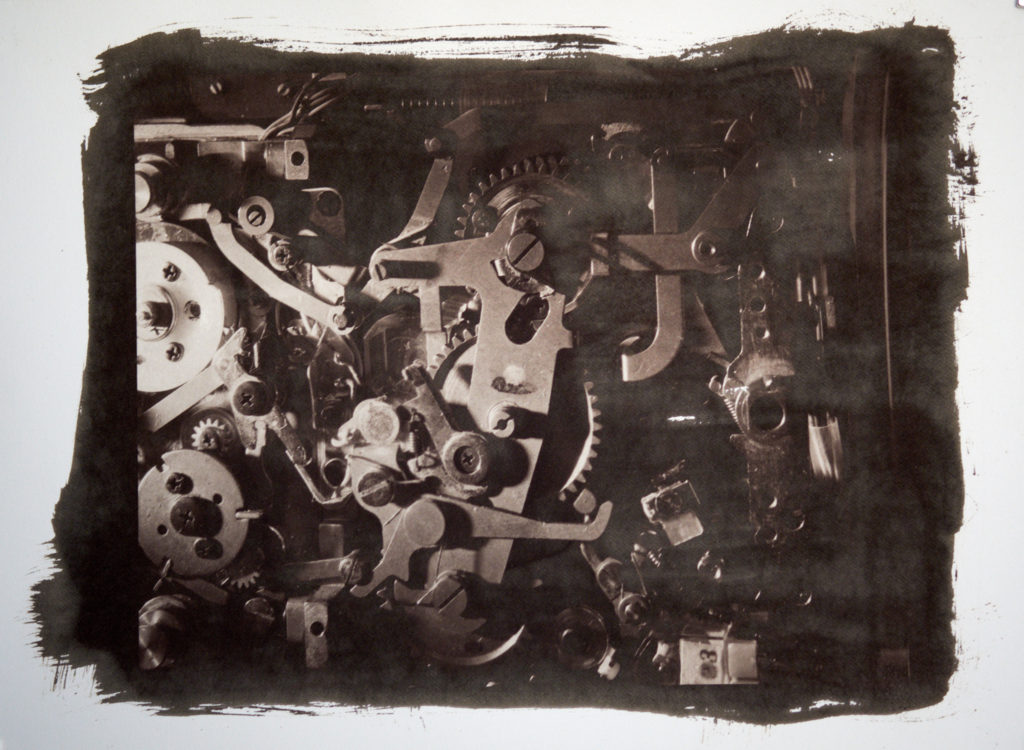
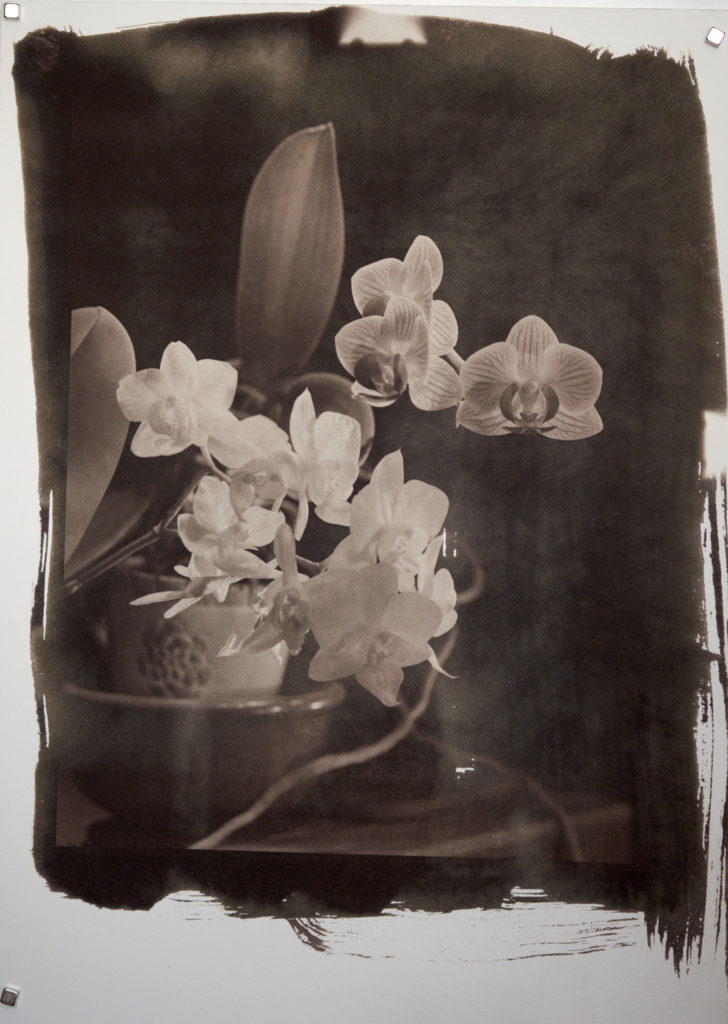
I made a test with two different negatives: a very soft flower subject lighted with painted light and a very sharp subject lighted with a very contrasted light. I wanted to see how this printing process deals with different subjects.
I proceeded with some step test to find the corrected exposure for my negatives. I did 2 seconds steps and as you can see in the video I was a little optimist with my first strip of 2,4,6,8 seconds exposure. At the end the correct exposure resulted of 11 minutes.
.
You can see the tests I made in the video below.
I was expecting shorter exposure times ’cause I seen some other boxes made with the same LED giving short exposure times with other alternative processes.
Still I like the slow times when I work with film and so I kinda like to have time to think while I wait for the paper to be exposed.
The Arduino timer is working greatly and it’s a pleasure to use this box!
.
.
I have to learn to pose the emulsion better on the paper. The thickness came out not uniform and there are spots where the emulsion did not spread at all on the paper. Still I have a lot to learn but as a fist try I’m quite satisfied of the results.
The LabOldTech2000 kit is very easy to use and complete.
See you next time with new projects!


